
Posted by Oliver Bracher
Categories
Abaqus 2023Table of contents
Installing Abaqus 2023
In this blog, we'll go through the complete, step-by-step process of installing Abaqus 2023.
Download Abaqus
Navigate to https://software.3ds.com/ and log into your 3DS account. Then select SIMULIA > SIMULIA Abaqus, Isight, fe-safe, Tosca which will take you to the screen below. Select Abaqus 2023 and Abaqus 2023 Golden as shown below.
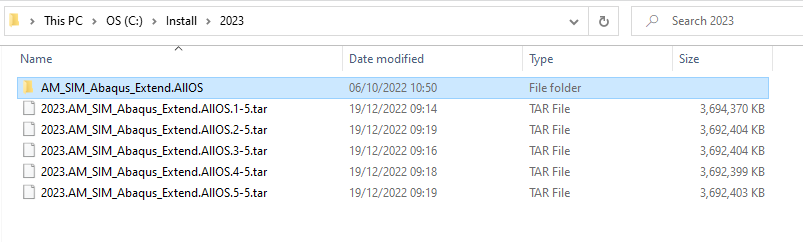
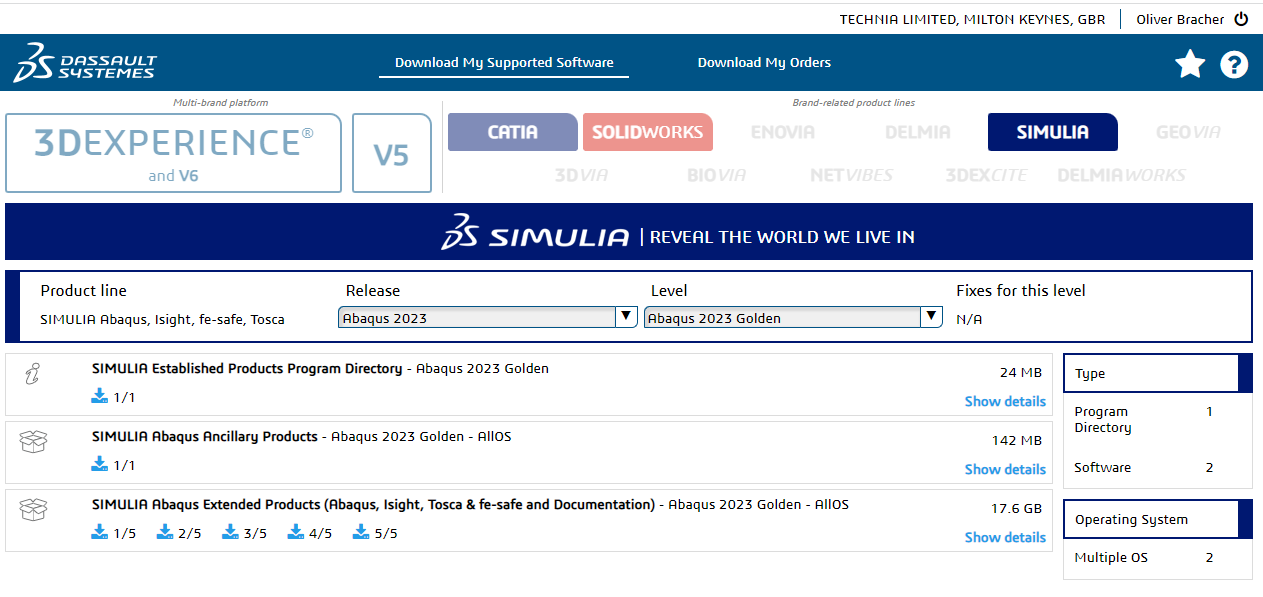 Download all five .tar files to somewhere on your C:\ drive, ideally, a folder you have admin rights to. If multiple versions of Abaqus are present on the same computer, it can be helpful to have separate install folders. The download can take quite a while as the size of all the files is 17.6GB.
Unzip Files
Once downloaded, first check that the size of the files combined is 17.6GB. If not, try to redownload or contact helpdesk@technia.com for assistance.
Select all the .tar files and use 7-Zip to “Extract Here”. This is important to create the correct file structure.
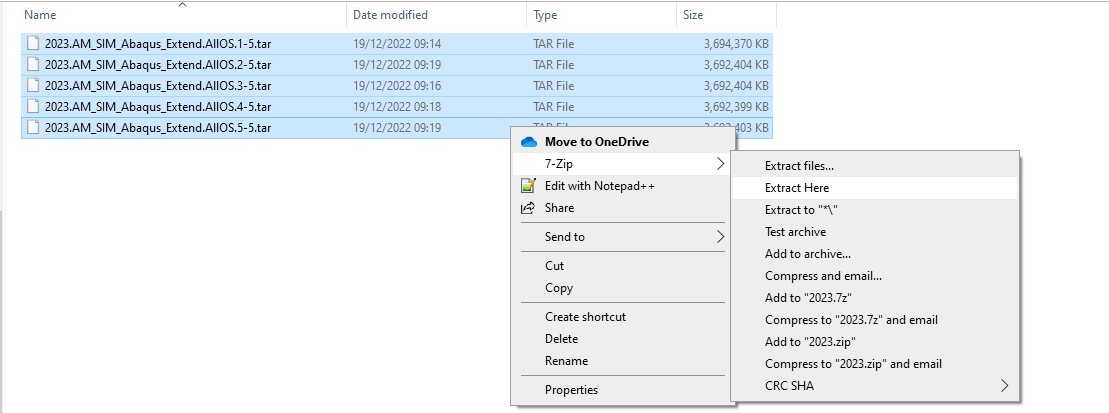
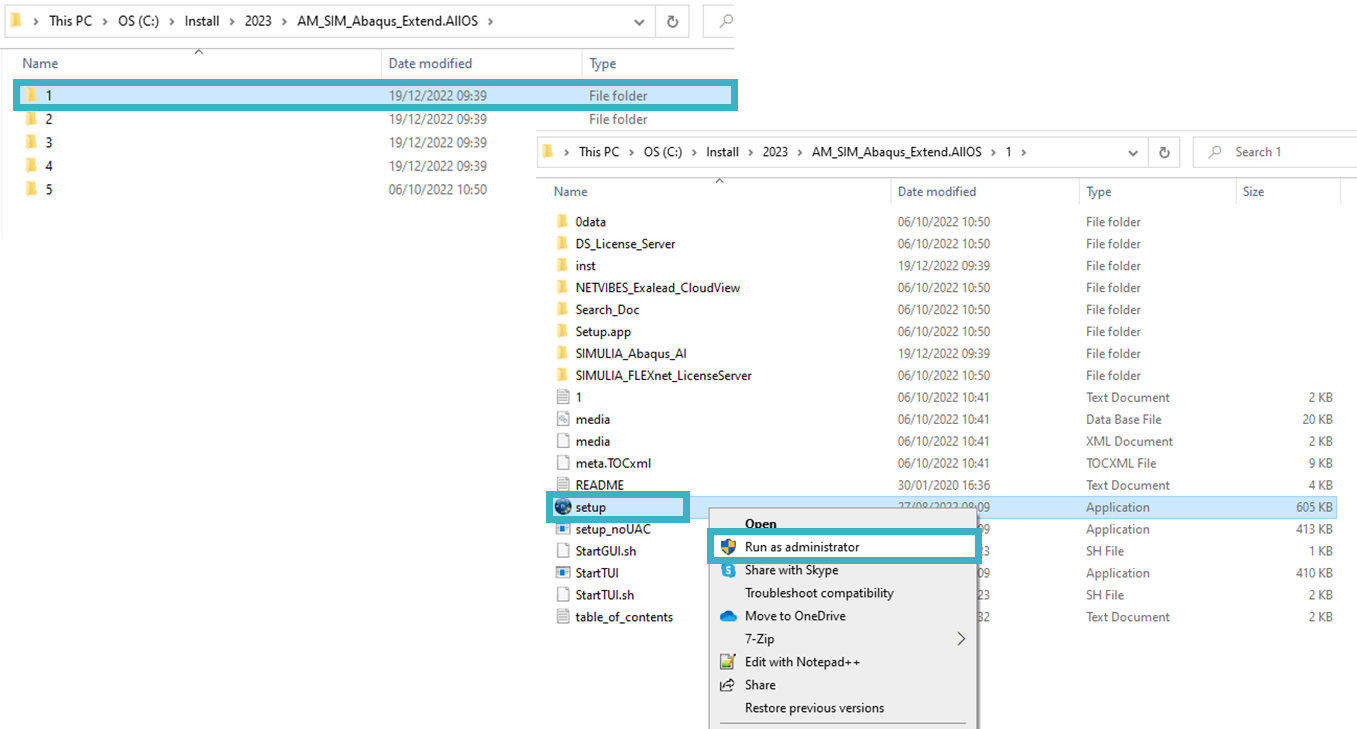
This will create a folder in the same directory called AM_SIM_Abaqus_Extend.AllOS.
Run Installation Procedure
Inside AM_SIM_Abaqus_Extend.AllOS there should be five folders as shown below. The contents of the folder named “1”, should look like the following, if not, it is likely that the files have not been unzipped correctly. Right-click on the setup.exe and select “Run as administrator”.
Abaqus Installation
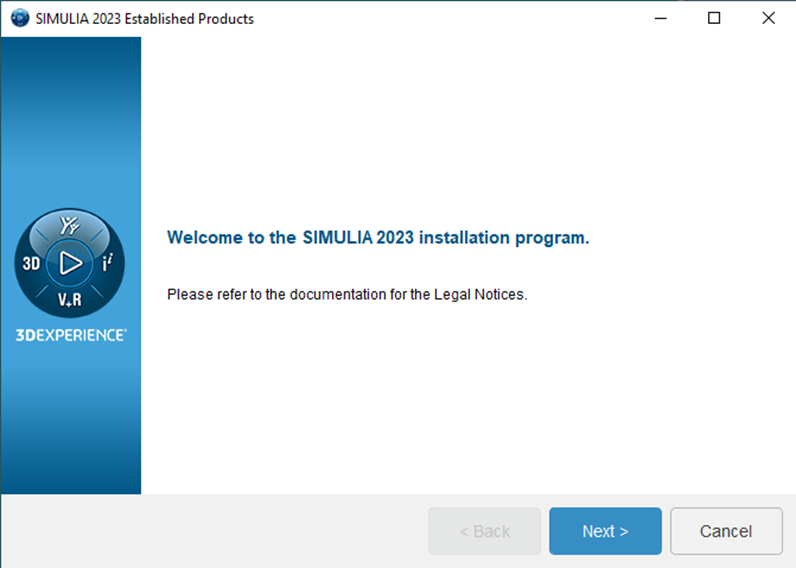
1. Click the “Next” button to proceed with the installation process.
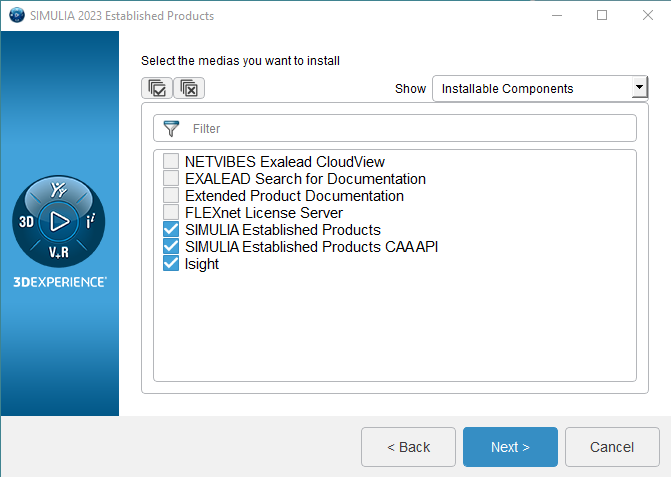
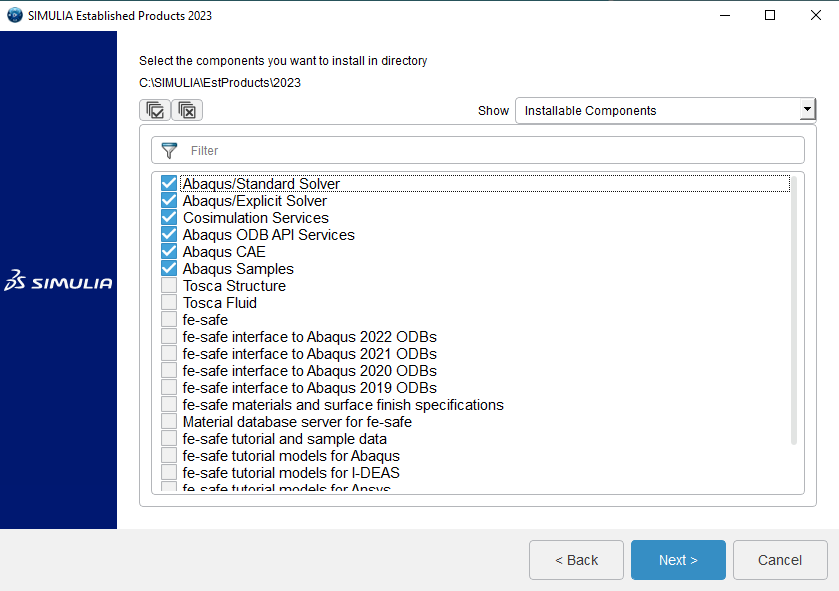
2. Select what you want to install. In this installation, the FLEXnet License Server is installed on another machine, so we simply need the products as shown. If you need to set up your FLEXnet License Server, you will need to install it. TECHNIA can help with this should you need it. Click “Next” and then “Install” on the next page.
3. Define an installation directory, or keep it default as shown, click “Next”.
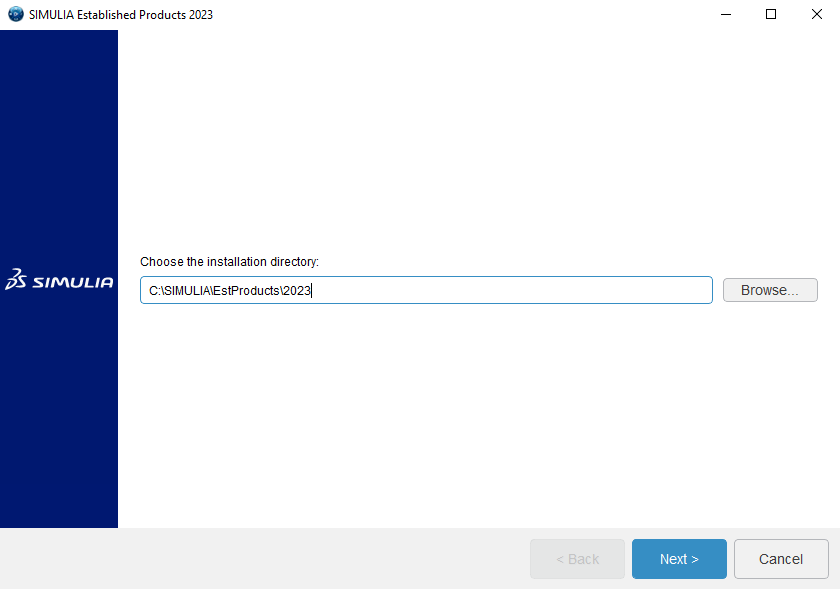
4. Define an installation directory, or keep it default as shown, click “Next”.
Specify which services you want to install and click “Next”. You can come back and install others in the future.
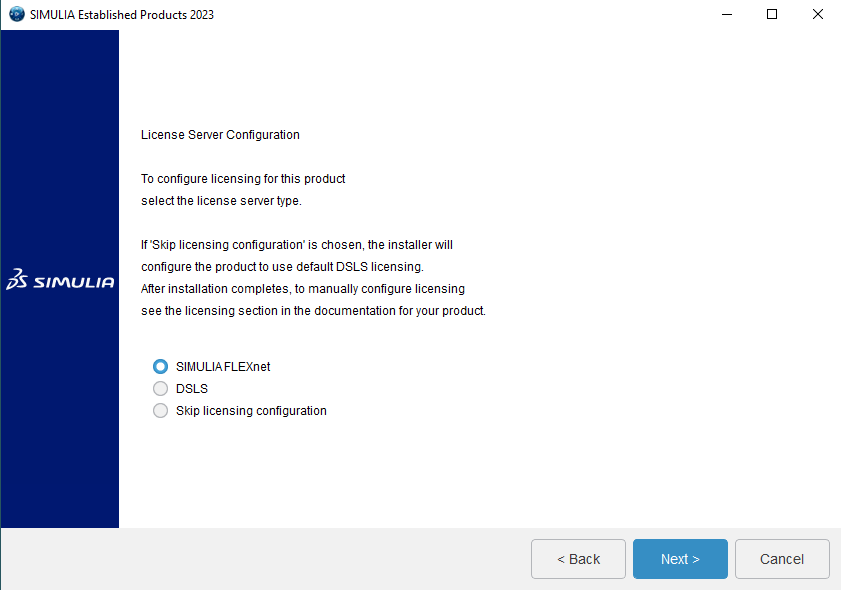
5. Select your preferred license manager. This installation will use SIMULIA FLEXnet. You, or your license manger, should check your license email to find out whether FLEXnet or DSLS should be selected. If it is not your first installation of Abaqus, you can check the environment file of the previous version to obtain this information.
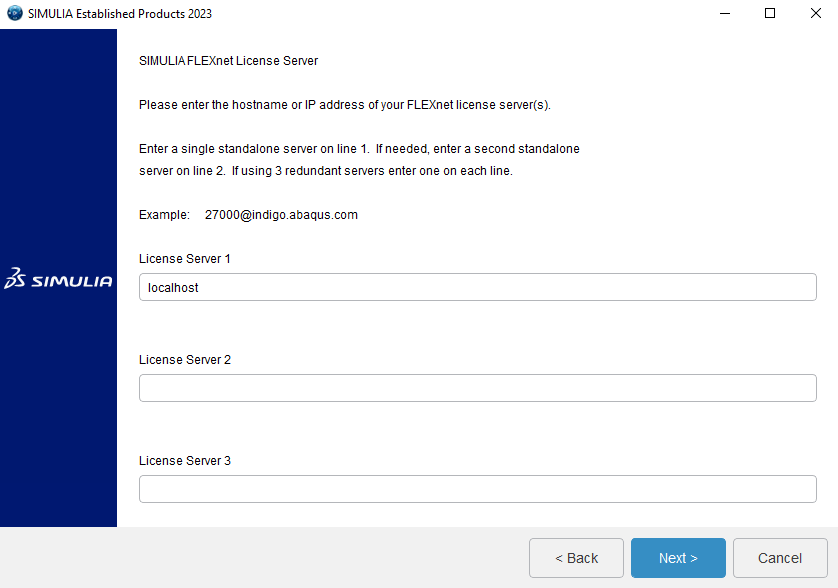
6. Specify a local or external license server. You can use “localhost” if Abaqus and FLEXnet are installed on the same machine. If you are using an external server, specify the port followed by the Host ID or IP address e.g. 27000@Your-PC-Host-ID or 27000@123.45.67.89.
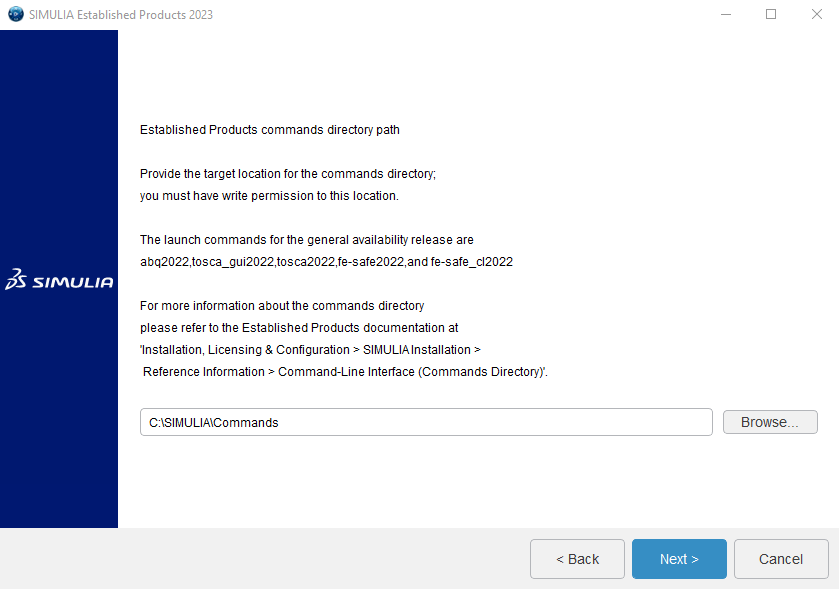
7. Define a commands directory, or keep it default as shown, click “Next”.
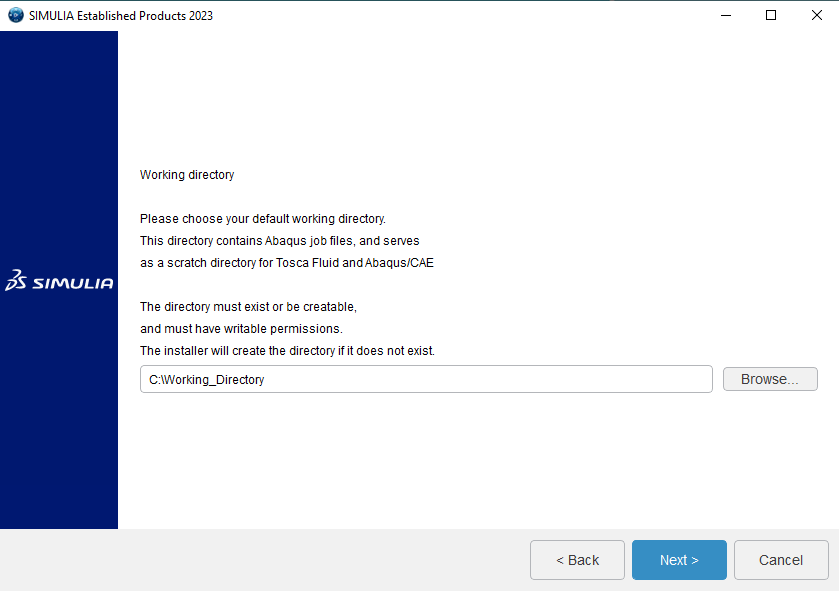
8. Define a working directory as shown, or keep it as the default C:\temp.
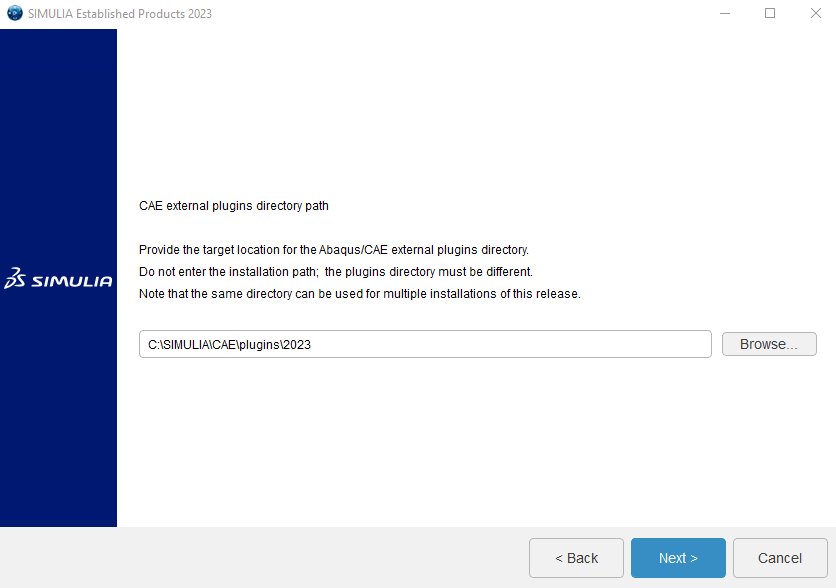
9. Define a plugin directory path, or keep it default as shown, click “Next”.
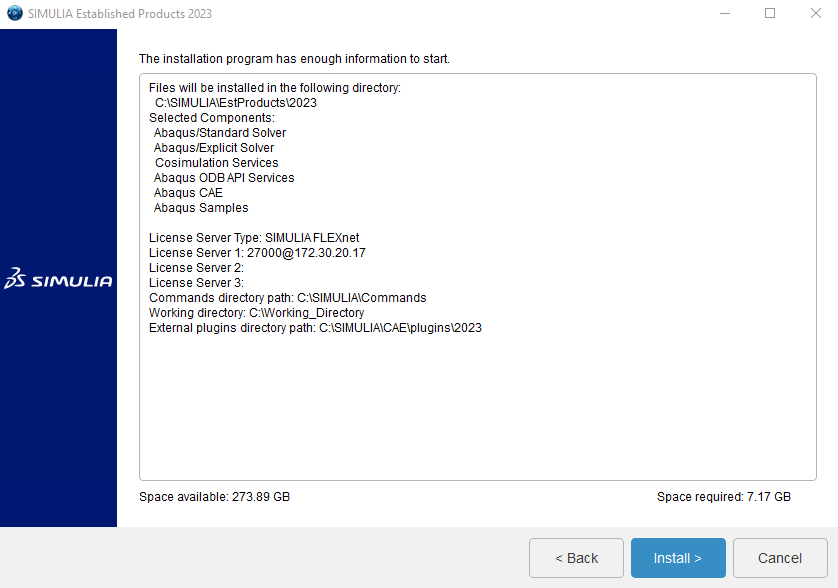
10. Click “Install”. When it has finished installing, click “Close”.
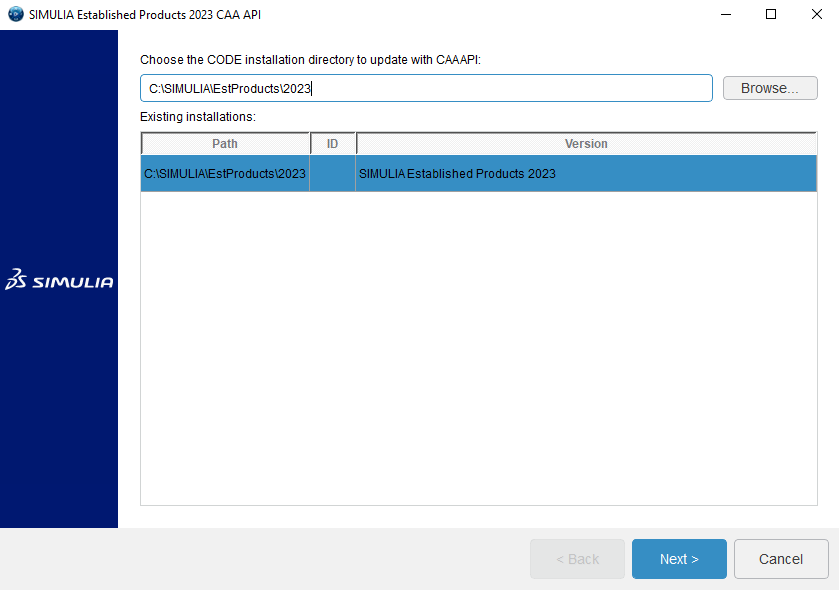
Established Products API Installation
1. Define an installation directory, or keep it default as shown, click “Next”.
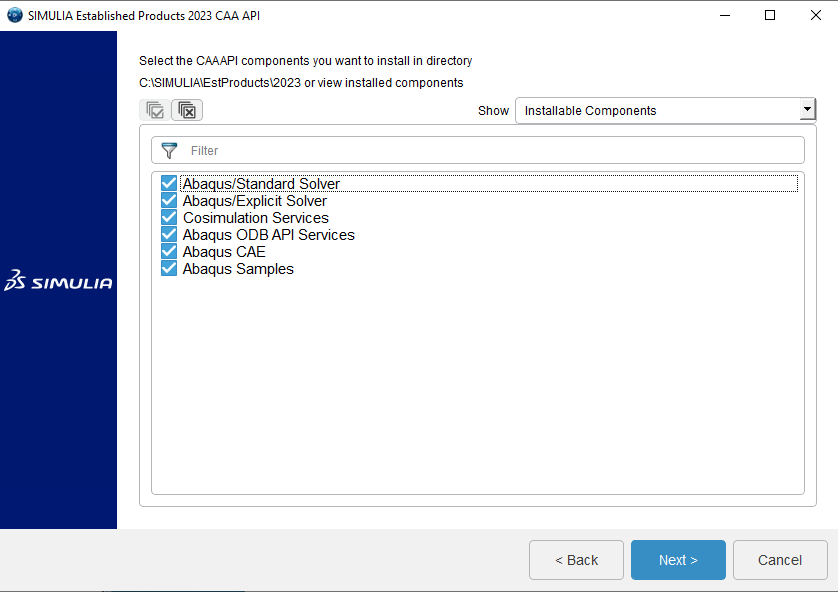
2. Specify which services you want to install and click “Next”.
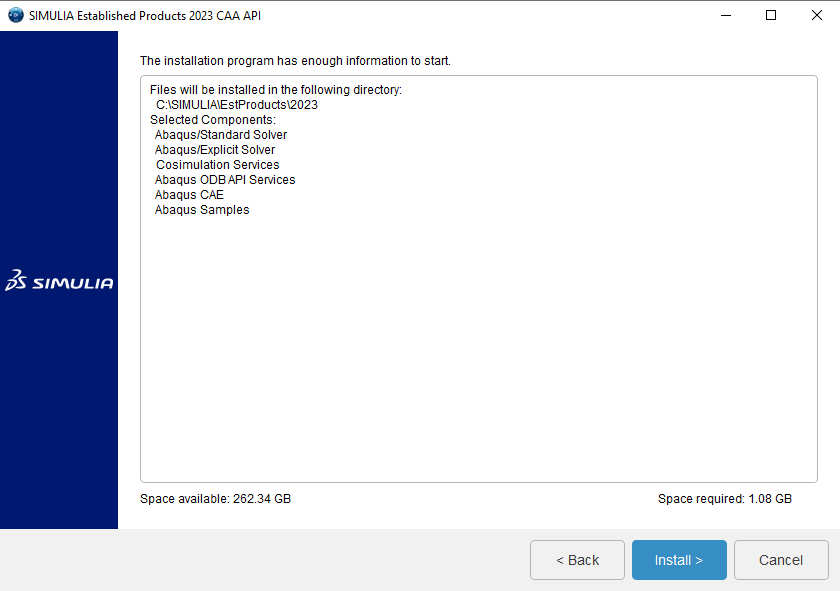
3. Click “Install”. When it has finished installing, click “Close”.

Established Products API Installation
Isight Installation ( Optional )
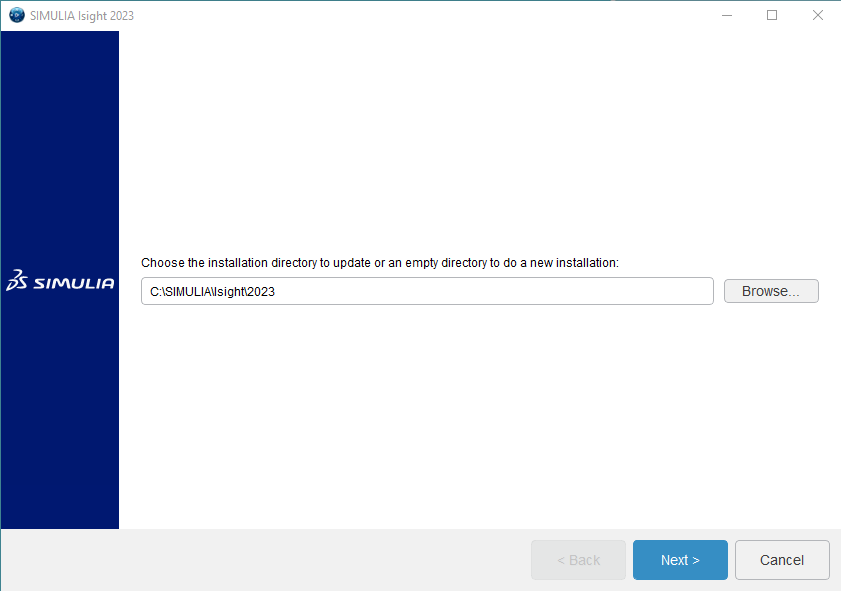
1. Define an installation directory, or keep it default as shown. Click “Next”.
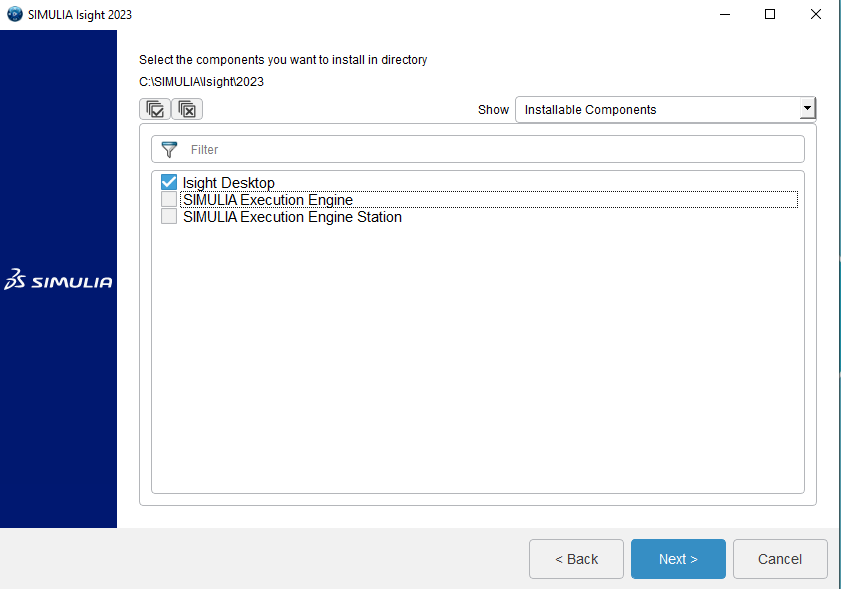
2. Specify which services you want to install and click “Next”. The SIMULIA Execution Engine allows the execution of jobs and process flows using multiple computers, for more information go to: https://www.3ds.com/products-services/simulia/products/isight-simulia-execution-engine/
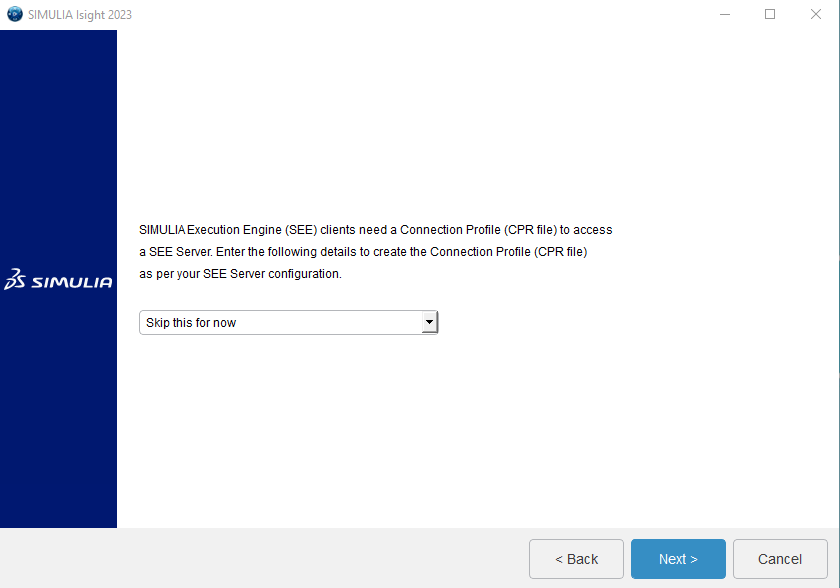
3. If you are not using SEE, select “Skip this for now”.
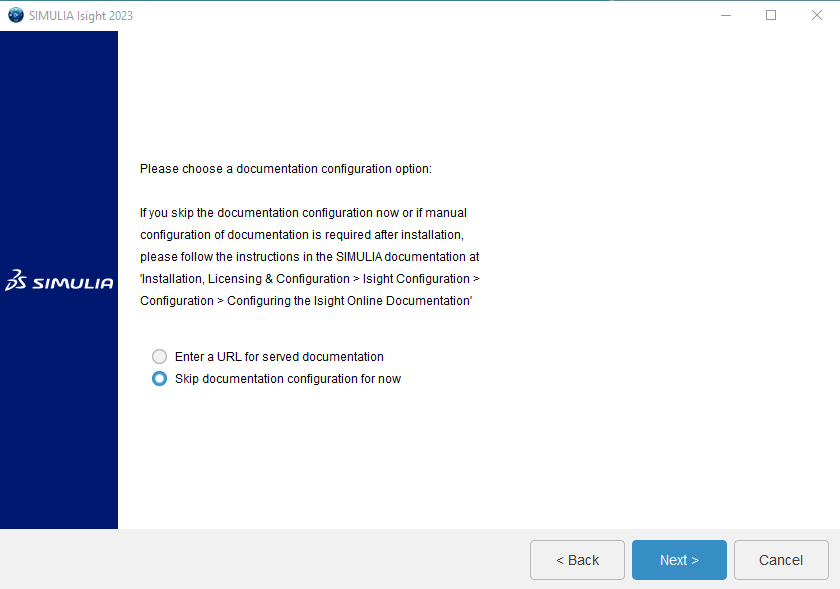
4. Enter or skip the documentation configuration, click “Next”.
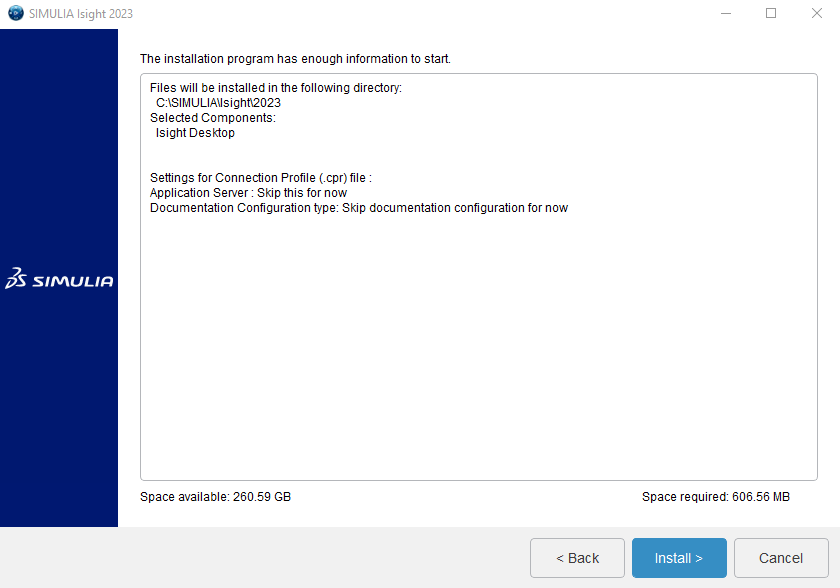
5. Click “Install”. When it has finished installing, click “Close”.
Download a PDF version of the installation guide

For more information visit us at technia.com/simulation

TECHNIA Simulation provides top tier FEA, Non-linear, and Advanced Simulation Software, Training, and Consultancy. Our dedicated team of more than 65 Simulation experts across 16 countries advise and support your innovation with a wealth of specialist knowledge and experience.
About TECHNIA- Related news and articles straight to your inbox
- Hints, tips & how-tos
- Thought leadership articles

Helping you find the information you’re looking for. Discover webinars, events, FAQ's, case studies and tutorials.
VIEW HUB